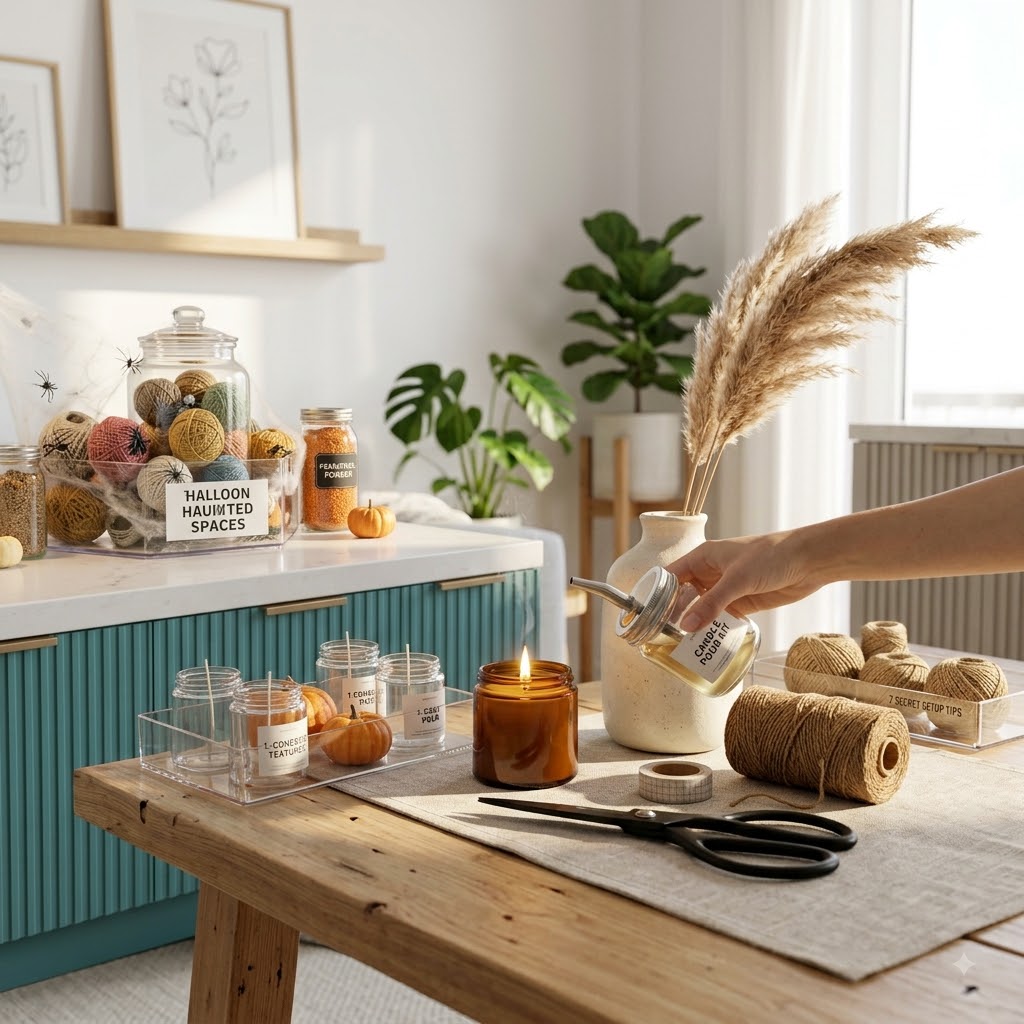
Making your own candles sounds like a fancy hobby, right? Something only crafty experts do. Well, I’m here to tell you it’s actually super simple, even for absolute newbies. If you’ve ever wanted to add a personal touch to your home, give unique gifts, or just want to know exactly what’s burning in your living room, learning easy DIY candles for beginners is a perfect place to start. You don’t need a ton of expensive gear, and you’ll be surprised how quickly you can make something lovely.
Gathering Your Basic Candle Making Supplies
Before we even think about melting wax, let’s make sure you have the right stuff. Don’t worry, most of these things are easy to find online or at craft stores. Think of this as your essential shopping list.
- Wax: For beginners, soy wax flakes are your best friend. They’re natural, easy to clean up, and melt smoothly.
- Wicks: These are very important! You’ll need pre-tabbed wicks that are sized correctly for your containers. We’ll talk more about this soon.
- Containers: Heat-safe jars, tins, or ceramic vessels. Make sure they can handle heat.
- Fragrance Oil (Optional, but fun!): Pick your favorite scent. Always use fragrance oils made for candles.
- Color Blocks or Liquid Dye (Optional): If you want colored candles, grab some candle-specific dyes.
- Double Boiler Setup: This means a pouring pitcher (metal, heat-safe) and a saucepan or pot. You’ll melt wax indirectly.
- Thermometer: A candy thermometer or a specific candle making thermometer works great. It’s crucial for knowing wax temperature.
- Wick Clips or Holders: These help keep your wick centered while the wax cools. Clothes pins or specialized holders work.
- Kitchen Scale: For accurately measuring wax and fragrance oil. It makes a big difference.
- Stirring Utensil: A dedicated metal spoon or wooden stick.
Picking the Right Wax and Wicks for Beginners
I mentioned soy wax is great for beginners, and I really mean it. It’s forgiving, cleans up with soap and water, and has a lovely, natural look. Paraffin wax is another option, but it can be a bit trickier to get right for your first try. Stick with soy for now.
Wicks are where people sometimes get confused. It’s not one-size-fits-all. The wick needs to be the right thickness for the diameter of your container. If it’s too thin, the candle will ‘tunnel’ (burn down the middle, leaving wax on the sides). If it’s too thick, it might burn too hot and create too much soot. Most wick suppliers have charts that recommend wick sizes based on the diameter of your container and the type of wax you’re using. Always check those charts!
Choosing Safe Candle Containers
This part is important for safety. You can’t just use any old glass jar. It needs to be heat-safe. Glass jars made for canning, like Mason jars, are usually a good choice. Metal tins also work well. Make sure there are no cracks or chips in glass containers. Also, avoid anything with thin walls or plastic parts that could melt. Always pick a container that has a wide opening, so the flame has plenty of air and isn’t too close to the sides.
Adding Scent and Color: The Fun Part!
This is where your candles really become ‘yours.’ Fragrance oils are highly concentrated. A general rule of thumb for soy wax is to use about 6% to 10% fragrance oil by weight. So, if you’re using 10 ounces of wax, you’d add 0.6 to 1 ounce of fragrance oil. Always read the specific instructions for your fragrance oil, as some are stronger than others.
For color, you can use liquid dyes or dye blocks. A tiny bit goes a long way. Add a small amount, stir, and see if you like the color before adding more. Remember, the color will look lighter when the wax is liquid and darker once it cools and solidifies.
Step-by-Step Guide to Making Your Easy DIY Candles
Ready? Let’s make some candles!
1. Prep Your Workspace and Containers
Lay down some newspaper or an old towel. Candle making can get a little messy. Clean your containers well and make sure they are completely dry. Attach your wick to the bottom center of each container. Most pre-tabbed wicks have an adhesive bottom, or you can use a dab of hot glue. Then, use your wick holder (or clothes pin) to keep the wick standing straight up and centered at the top of the container.
2. Measure and Melt Your Wax
Use your kitchen scale to measure out your soy wax flakes. A good rule of thumb is to measure about 1.5 times the volume of your container for wax by weight. For example, if your jar holds 8 oz of water, you’ll need about 12 oz of wax flakes, because flakes are less dense than melted wax. Put the wax flakes into your pouring pitcher. Place the pitcher inside a larger pot with about 1-2 inches of water, creating a double boiler. Heat the water on medium-low heat. Let the wax melt slowly. Don’t rush it by using high heat directly.
3. Add Fragrance and Color
Once your wax is completely melted and clear, take it off the heat. Let it cool down to the temperature specified by your fragrance oil manufacturer, usually around 180-185°F (82-85°C). This is called the ‘pour temperature’ for fragrance. Add your measured fragrance oil and any colorant. Stir gently but thoroughly for about 2 minutes. This helps the fragrance bind with the wax.
4. Pour the Wax
Now, let the wax cool a little more before pouring. For soy wax, I usually wait until it cools to about 135-145°F (57-63°C). This ‘pour temperature’ can help prevent frosting and bubbles. Slowly and carefully pour the wax into your prepared containers, making sure the wick stays centered. Don’t fill it all the way to the top, leave about a half-inch of space.
5. Let Them Cure
This is the hardest part, because you have to be patient! Let your candles cool and harden completely at room temperature. This can take several hours, or even overnight. Don’t try to move them while they’re still liquid or soft. For the best scent throw, candles need to ‘cure’ for about 3-7 days. This means the fragrance oil properly binds with the wax. Just set them aside in a cool, dry place.
6. Trim Your Wicks
Once fully cured, trim your wicks to about 1/4 inch (0.6 cm) before burning. A long wick can cause a large flame and soot. You’ll need to trim the wick before each burn.
Tips for Better Easy DIY Candles
- Measure Everything: Seriously, precision helps a lot.
- Watch Temperatures: Melting, adding fragrance, and pouring at the right temperatures makes a big difference in how your candle looks and smells.
- Test, Test, Test: Your first candle might not be perfect. That’s okay! Keep trying.
- Keep Notes: Write down what wax, wick, fragrance, and temperatures you used for each batch. This helps you repeat successes and fix problems.
Common Beginner Candle Problems (and How to Fix Them)
Tunneling
This happens when the candle burns down the middle, leaving wax on the sides. Usually, it means your wick is too small for your container. Try a larger wick next time.
Frosting
Sometimes soy wax will get a white, crystalline look on the surface or sides. This is called frosting, and it’s a natural characteristic of soy wax. It doesn’t affect the burn or scent at all, it’s just cosmetic. You can try pouring at a slightly lower temperature to reduce it, but it’s often unavoidable with soy wax. I think it gives them character!
Weak Scent (Poor ‘Hot Throw’)
If your candle doesn’t smell much when burning, you might not have used enough fragrance oil, or you added it at the wrong temperature. Make sure you’re using the recommended percentage for your wax type and stir it in for a full two minutes. Also, don’t forget the curing time!
Safety First, Always!
Remember, you’re working with hot wax and an open flame. Always keep a close eye on melting wax, and never leave a burning candle unattended. Make sure your workspace is clear of flammable items. Keep candles away from drafts, pets, and children. You can find more candle safety tips from the National Candle Association if you want to read up.
Making easy DIY candles for beginners is such a rewarding hobby. You get to be creative, and you end up with something beautiful and fragrant. It’s also a fantastic way to customize gifts for friends and family. Once you’ve mastered the basics, you might want to explore different types of candle wax or even try making your own wax melts. Don’t be afraid to experiment with different scents and colors. Your home will smell amazing, and you’ll have a new skill to brag about!