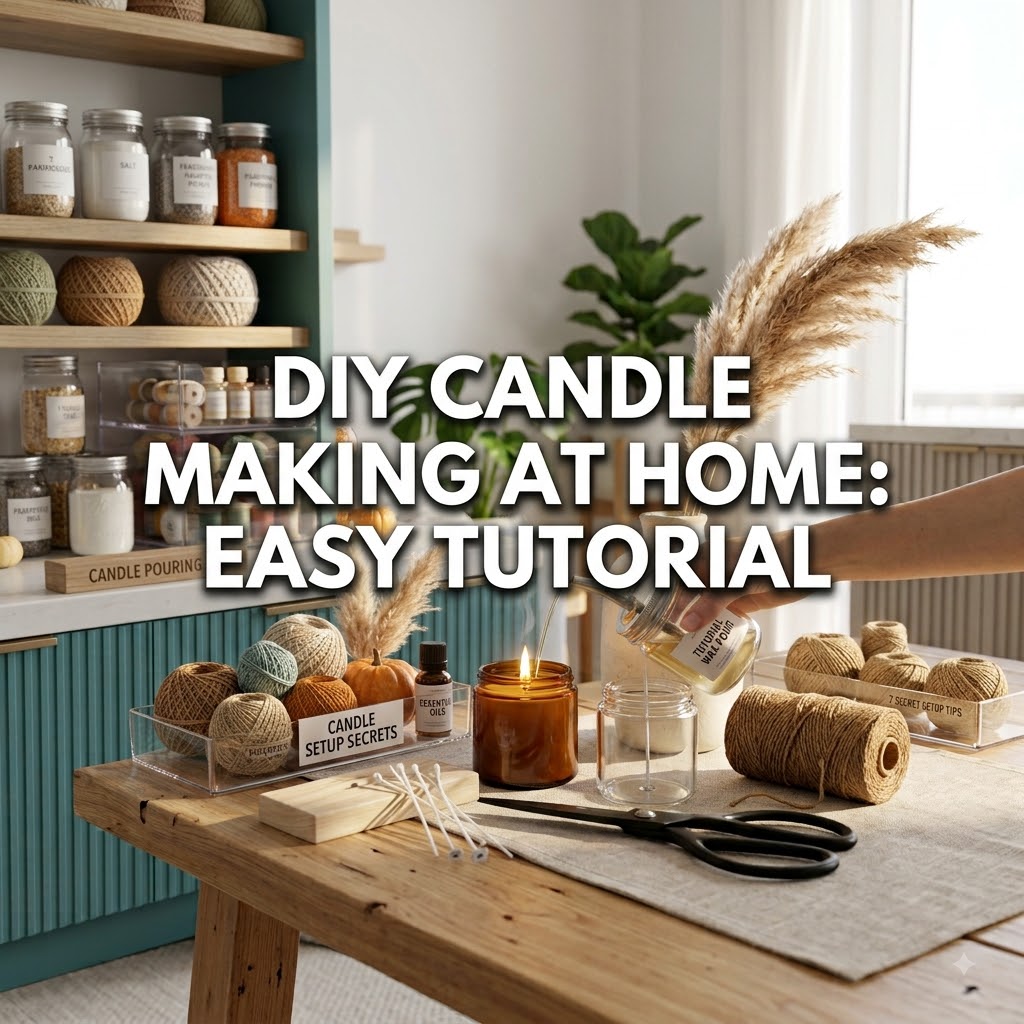
Ever thought about making your own candles? It’s much simpler than you might think, and it’s a wonderfully rewarding hobby. Imagine filling your home with custom scents you created, or giving handmade gifts that truly show you care. Plus, it can save you a good bit of money compared to buying fancy store-bought candles. I remember when I first started, I was surprised by how quickly I got the hang of it. This diy candle making at home easy tutorial will walk you through everything you need to know, even if you’ve never tried it before. You’ll be lighting up your own creations in no time.
Gather Your Candle Making Supplies
Before we get started, let’s make sure you have all the right tools. You don’t need a lot of super specialized gear, but having the correct items makes all the difference for a smooth process and a great end product. Here’s what you’ll want to pick up:
- Soy Wax Flakes: I always recommend soy wax for beginners. It’s natural, burns cleanly, and is easy to work with. You can find it online or at craft stores.
- Candle Wicks: These usually come pre-tabbed (meaning they have a little metal base) and are ready to go. Make sure you get the right size for your containers. A wick that’s too small will tunnel (burn down the middle only), and one that’s too big will create a huge flame and lots of soot.
- Heat-Safe Containers: Mason jars, old jam jars, or specific candle vessels work well. Just make sure they can handle heat.
- Fragrance Oils: These are what make your candles smell amazing! Be sure to buy fragrance oils specifically made for candles. Essential oils can work, but they often don’t smell as strong when burned in a candle.
- Dye Blocks or Chips (Optional): If you want colored candles, you’ll need these. A little goes a long way.
- Pouring Pot: This is a metal pitcher with a handle and a spout. It makes melting wax and pouring it much easier and safer.
- Double Boiler Setup: You’ll need a larger pot for water and your pouring pot to sit inside. Never melt wax directly over a flame!
- Thermometer: A candy thermometer or a specific candle thermometer is a must. Wax needs to be at certain temperatures for adding fragrance and pouring.
- Wick Clips or Clothes Pins: These help hold your wick centered while the wax cools.
- Kitchen Scale: You’ll measure wax and fragrance by weight, not volume, for accuracy.
- Stirring Utensils: Popsicle sticks or metal spoons work fine. Keep a designated one for candle making.
- Safety Gear: Gloves and an apron are a good idea. Hot wax can be messy and cause burns.
- Rubbing Alcohol: Great for cleaning up wax spills on your workspace or tools before the wax hardens.
Setting Up Your Workspace Safely
Safety first! You’re working with hot wax, so it’s important to prepare your area. Find a clear, flat surface that’s easy to clean. Cover it with newspaper or an old towel to catch any drips. Make sure you have good ventilation, open a window if you can. Keep pets and kids out of your immediate workspace. It’s also a good idea to have a fire extinguisher nearby, just in case. You’re handling hot liquids, so stay focused on what you’re doing.
Your Easy Step-by-Step DIY Candle Making Tutorial
Step 1: Measure and Melt Your Wax
First, figure out how much wax you need. You can fill your container with water, measure the water in ounces, and then multiply that by 0.85. That gives you a good estimate of the wax weight in ounces. For example, if your jar holds 10 ounces of water, you’ll need about 8.5 ounces of wax. Weigh out your soy wax flakes on your kitchen scale.
Next, set up your double boiler. Fill the larger pot with a few inches of water, then place your pouring pot with the wax flakes inside it. Heat the water over medium heat. The wax will slowly melt. Stir it occasionally until it’s completely liquid and clear. This usually happens around 170-185°F (77-85°C). Keep an eye on your thermometer.
Step 2: Prepare Your Containers and Wicks
While your wax is melting, get your containers ready. Make sure they’re clean and dry. Take your pre-tabbed wicks and place one at the very bottom center of each container. You can use a dab of hot glue or a wick sticker to secure it. Then, use a wick clip or a clothes pin across the top of the container to hold the wick perfectly straight and centered while the wax cools. This prevents a lopsided burn later.
Step 3: Add Fragrance and Color
Once your wax is fully melted and has reached about 185°F (85°C), take it off the heat. Let it cool down a bit to about 180-185°F (82-85°C) before adding your fragrance oil. Adding it too hot can cause the scent to burn off. A good rule of thumb for fragrance is to use 1 ounce of fragrance oil per pound of wax (a 6% fragrance load is common for soy wax). Weigh your fragrance oil on your scale for accuracy.
If you’re using dye, add a small piece of your dye chip or block now. Stir everything gently but thoroughly for at least two minutes. You want to make sure the fragrance and color are fully mixed into the wax.
Step 4: Pour Your Candles
Now, let the wax cool further to its pouring temperature. For soy wax, this is usually between 135-145°F (57-63°C). Pouring at the right temperature helps prevent “wet spots” (where the wax pulls away from the jar) and gives you a smooth top. Slowly and steadily pour the wax into your prepared containers, leaving about a half-inch of space from the top. Don’t rush this step!
Step 5: Let Them Cool and Cure
This is where patience comes in! Place your poured candles on a flat surface and let them cool completely at room temperature. Don’t put them in the fridge or freezer to speed things up, as this can cause cracking or uneven cooling. It can take several hours, or even overnight, for them to harden completely.
Once they’re solid, the most important step for a good smelling candle is curing. This means letting the candle sit untouched for at least 24-48 hours, but 1-2 weeks is even better for soy wax. Curing allows the fragrance oil to fully bind with the wax, giving you a much stronger scent when you burn it. You’ll be amazed at the difference it makes!
Step 6: Trim Wicks and Enjoy!
After your candles are fully cured, remove the wick clips. Trim your wicks to about 1/4 inch (0.6 cm) before you light them. A long wick can cause a large flame and soot. For the first burn, let the candle burn long enough for the wax pool to reach the edges of the container. This prevents tunneling and helps your candle burn evenly every time. You’ve just made your very own candle!
Troubleshooting Common Candle Problems
Don’t worry if your first few candles aren’t perfect. It’s all part of the learning process! Here are a few common issues you might run into:
- Wet Spots: These look like air bubbles or darker patches where the wax has pulled away from the container. It’s usually caused by pouring wax when the container is too cold, or the wax cooling unevenly. Try warming your jars slightly before pouring, or insulating them while they cool.
- Cracked or Uneven Tops: This often happens if the wax cools too quickly. Try pouring at a slightly lower temperature or covering your candles loosely with foil while they cool to slow down the process. Sometimes a second, thin pour of warm wax (a “re-pour”) can fix this after the first layer has set.
- Weak Scent Throw: If your candle doesn’t smell much when it’s burning, it could be a few things. You might not have added enough fragrance oil, or you added it when the wax was too hot, causing the scent to evaporate. Also, not letting your candle cure long enough is a big culprit!
- Tunneling: This is when the wick burns straight down the middle, leaving a lot of wax on the sides of the jar. Your wick is probably too small for your container. You might need a thicker wick or a different wick series.
Making Candles Your Own: Ideas and Inspiration
Once you’ve mastered the basics of this easy diy candle making at home tutorial, you can start getting creative! There are so many ways to personalize your candles:
- Mix and Match Scents: Try blending different fragrance oils to create your own unique aroma. Lavender and vanilla, citrus and basil, or even coffee and caramel can be fun combinations.
- Seasonal Themes: Think pumpkin spice for fall, peppermint for winter, or fresh linen for spring. Match your scents and colors to the time of year.
- Decorate Your Jars: Once your candles are done, you can add custom labels, ribbons, or even little charms to the outside of your jars. This is especially nice if you’re making them as gifts. You can find many ideas for creating custom labels for your handmade items online.
- Explore Different Waxes: While soy wax is great, you might want to try other waxes like coconut wax or a soy-paraffin blend once you’re comfortable. Each has slightly different burning properties.
Ready to Light Up Your Life?
See? Making your own candles isn’t scary at all. It’s a fun, creative process that gives you something beautiful and useful at the end. You’ll soon have a home filled with lovely aromas, and you’ll have the satisfaction of knowing you made them yourself. Don’t be afraid to experiment with scents and colors. For more information on candle safety, you can visit the National Candle Association website. And if you’re curious about the origins of soy wax, check out its Wikipedia page.
So, what are you waiting for? Pick out a container, choose your first fragrance, and get ready to create something wonderful today!